


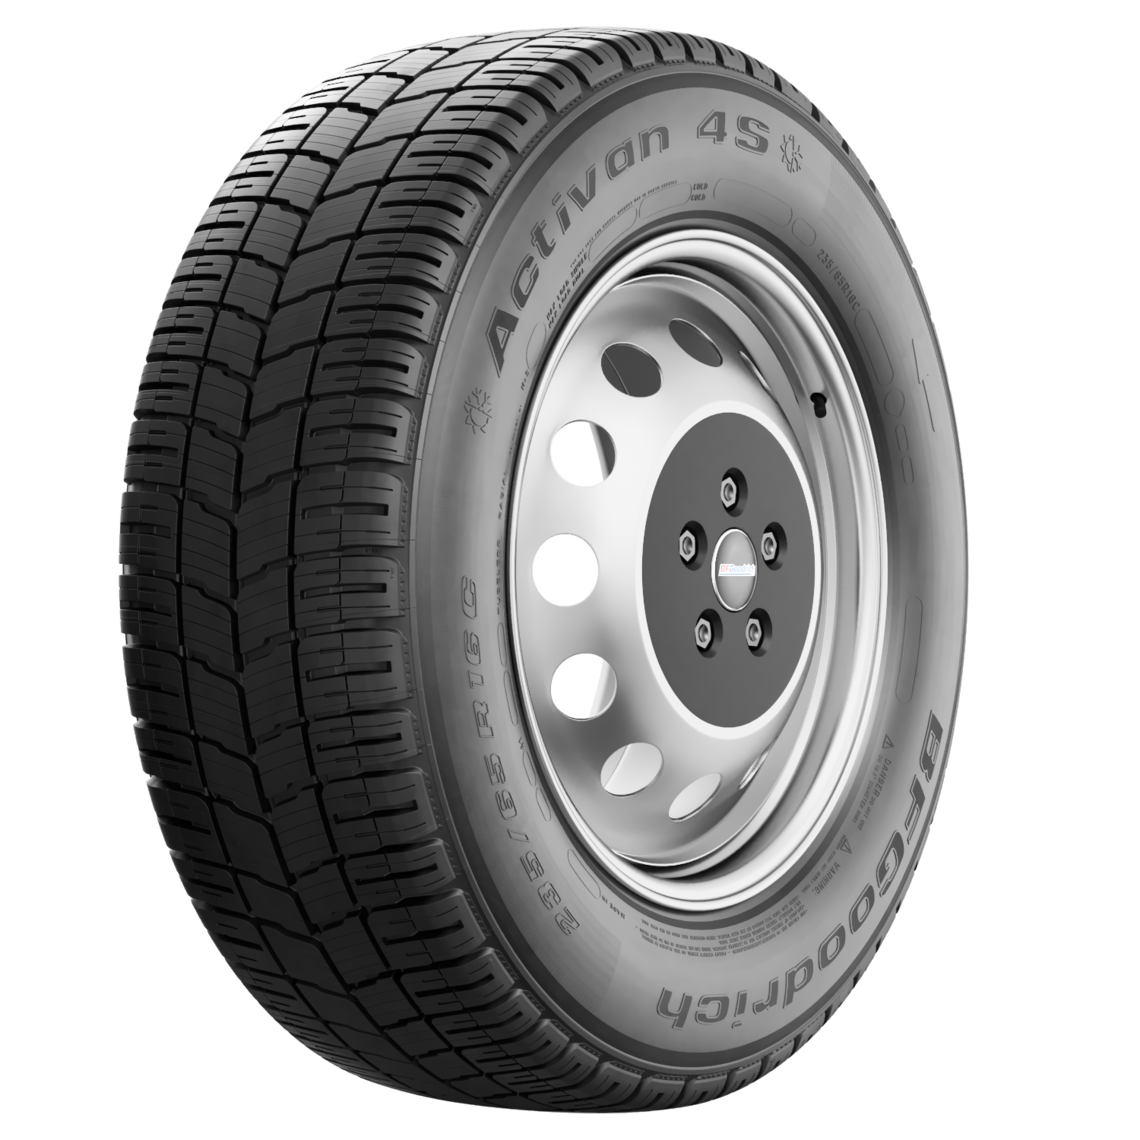
BFGoodrich
ACTIVAN 4S
Van
KEEP CONTROL OF YOUR BUSINESS,IN ALL SEASONS

One set of tyres for all your needs. Who needs rotation fees twice a year when you can be on the go all year round, whatever the conditions.

You want grip? You got it! On wet surfaces, this tyre is a brawny B-certified. And on the snow, the 3PMSF label does the job. You’re never caught out when accelerating, braking or driving. When the road and days are long, reinforced side walls and tough treads make it robust and durable.

We’ve been serving pros like you for over 150 years. We want what you want. So when you need tyres that don’t let you down, whatever your kind of adventure, we’re right there with you.
| Tread pattern | Load index 1/ speed index 1 | Load index 2/ speed index 2 | Specific markings | Tyre labelling | |||||||||||||||
|---|---|---|---|---|---|---|---|---|---|---|---|---|---|---|---|---|---|---|---|
| 104/102R |
View corresponding label sheet
D B 72dB |
||||||||||||||||||
|
Load & pressure
|
|||||||||||||||||||
| Tread pattern | Load index 1/ speed index 1 | Load index 2/ speed index 2 | Specific markings | Tyre labelling | |||||||||||||||
|---|---|---|---|---|---|---|---|---|---|---|---|---|---|---|---|---|---|---|---|
| 99/97H |
View corresponding label sheet
D B 72dB |
||||||||||||||||||
|
Load & pressure
|
|||||||||||||||||||
| Tread pattern | Load index 1/ speed index 1 | Load index 2/ speed index 2 | Specific markings | Tyre labelling | |||||||||||||||
|---|---|---|---|---|---|---|---|---|---|---|---|---|---|---|---|---|---|---|---|
| 104/102R |
View corresponding label sheet
C B 72dB |
||||||||||||||||||
|
Load & pressure
|
|||||||||||||||||||
| Tread pattern | Load index 1/ speed index 1 | Load index 2/ speed index 2 | Specific markings | Tyre labelling | |||||||||||||||
|---|---|---|---|---|---|---|---|---|---|---|---|---|---|---|---|---|---|---|---|
| 104/102T |
View corresponding label sheet
C B 72dB |
||||||||||||||||||
|
Load & pressure
|
|||||||||||||||||||
| Tread pattern | Load index 1/ speed index 1 | Load index 2/ speed index 2 | Specific markings | Tyre labelling | |||||||||||||||
|---|---|---|---|---|---|---|---|---|---|---|---|---|---|---|---|---|---|---|---|
| 104/102R |
View corresponding label sheet
D B 72dB |
||||||||||||||||||
|
Load & pressure
|
|||||||||||||||||||
| Tread pattern | Load index 1/ speed index 1 | Load index 2/ speed index 2 | Specific markings | Tyre labelling | |||||||||||||||
|---|---|---|---|---|---|---|---|---|---|---|---|---|---|---|---|---|---|---|---|
| 107/105R |
View corresponding label sheet
C B 72dB |
||||||||||||||||||
|
Load & pressure
|
|||||||||||||||||||
| Tread pattern | Load index 1/ speed index 1 | Load index 2/ speed index 2 | Specific markings | Tyre labelling | |||||||||||||||
|---|---|---|---|---|---|---|---|---|---|---|---|---|---|---|---|---|---|---|---|
| 102/100T |
View corresponding label sheet
D B 72dB |
||||||||||||||||||
|
Load & pressure
|
|||||||||||||||||||
| Tread pattern | Load index 1/ speed index 1 | Load index 2/ speed index 2 | Specific markings | Tyre labelling | |||||||||||||||
|---|---|---|---|---|---|---|---|---|---|---|---|---|---|---|---|---|---|---|---|
| 107/105T |
View corresponding label sheet
C B 72dB |
||||||||||||||||||
|
Load & pressure
|
|||||||||||||||||||
| Tread pattern | Load index 1/ speed index 1 | Load index 2/ speed index 2 | Specific markings | Tyre labelling | |||||||||||||||
|---|---|---|---|---|---|---|---|---|---|---|---|---|---|---|---|---|---|---|---|
| 106/104R |
View corresponding label sheet
D B 72dB |
||||||||||||||||||
|
Load & pressure
|
|||||||||||||||||||
| Tread pattern | Load index 1/ speed index 1 | Load index 2/ speed index 2 | Specific markings | Tyre labelling | |||||||||||||||
|---|---|---|---|---|---|---|---|---|---|---|---|---|---|---|---|---|---|---|---|
| 110/108R |
View corresponding label sheet
C B 72dB |
||||||||||||||||||
|
Load & pressure
|
|||||||||||||||||||
| Tread pattern | Load index 1/ speed index 1 | Load index 2/ speed index 2 | Specific markings | Tyre labelling | |||||||||||||||
|---|---|---|---|---|---|---|---|---|---|---|---|---|---|---|---|---|---|---|---|
| 113/111R |
View corresponding label sheet
C B 72dB |
||||||||||||||||||
|
Load & pressure
|
|||||||||||||||||||
| Tread pattern | Load index 1/ speed index 1 | Load index 2/ speed index 2 | Specific markings | Tyre labelling | |||||||||||||||
|---|---|---|---|---|---|---|---|---|---|---|---|---|---|---|---|---|---|---|---|
| 103/101T |
View corresponding label sheet
D B 72dB |
||||||||||||||||||
|
Load & pressure
|
|||||||||||||||||||
| Tread pattern | Load index 1/ speed index 1 | Load index 2/ speed index 2 | Specific markings | Tyre labelling | |||||||||||||||
|---|---|---|---|---|---|---|---|---|---|---|---|---|---|---|---|---|---|---|---|
| 104/102T |
View corresponding label sheet
D B 72dB |
||||||||||||||||||
|
Load & pressure
|
|||||||||||||||||||
| Tread pattern | Load index 1/ speed index 1 | Load index 2/ speed index 2 | Specific markings | Tyre labelling | |||||||||||||||
|---|---|---|---|---|---|---|---|---|---|---|---|---|---|---|---|---|---|---|---|
| 109/107T |
View corresponding label sheet
C B 72dB |
||||||||||||||||||
|
Load & pressure
|
|||||||||||||||||||
| Tread pattern | Load index 1/ speed index 1 | Load index 2/ speed index 2 | Specific markings | Tyre labelling | |||||||||||||||||||
|---|---|---|---|---|---|---|---|---|---|---|---|---|---|---|---|---|---|---|---|---|---|---|---|
| 109/107R |
View corresponding label sheet
C B 72dB |
||||||||||||||||||||||
|
Load & pressure
|
|||||||||||||||||||||||
| Tread pattern | Load index 1/ speed index 1 | Load index 2/ speed index 2 | Specific markings | Tyre labelling | |||||||||||||||
|---|---|---|---|---|---|---|---|---|---|---|---|---|---|---|---|---|---|---|---|
| 109/107R |
View corresponding label sheet
C B 72dB |
||||||||||||||||||
|
Load & pressure
|
|||||||||||||||||||
| Tread pattern | Load index 1/ speed index 1 | Load index 2/ speed index 2 | Specific markings | Tyre labelling | |||||||||||||||
|---|---|---|---|---|---|---|---|---|---|---|---|---|---|---|---|---|---|---|---|
| 109/107S |
View corresponding label sheet
C B 72dB |
||||||||||||||||||
|
Load & pressure
|
|||||||||||||||||||
| Tread pattern | Load index 1/ speed index 1 | Load index 2/ speed index 2 | Specific markings | Tyre labelling | |||||||||||||||
|---|---|---|---|---|---|---|---|---|---|---|---|---|---|---|---|---|---|---|---|
| 112/110R |
View corresponding label sheet
C B 72dB |
||||||||||||||||||
|
Load & pressure
|
|||||||||||||||||||
| Tread pattern | Load index 1/ speed index 1 | Load index 2/ speed index 2 | Specific markings | Tyre labelling | |||||||||||||||
|---|---|---|---|---|---|---|---|---|---|---|---|---|---|---|---|---|---|---|---|
| 115/113R |
View corresponding label sheet
C B 72dB |
||||||||||||||||||
|
Load & pressure
|
|||||||||||||||||||